Creating Custom Baseball Lapel Pins: Complete Guide
Whether for team spirit, fundraising, or fan merchandise, custom baseball pins make perfect keepsakes. This guide walks you through the entire creation process from concept to finished product.
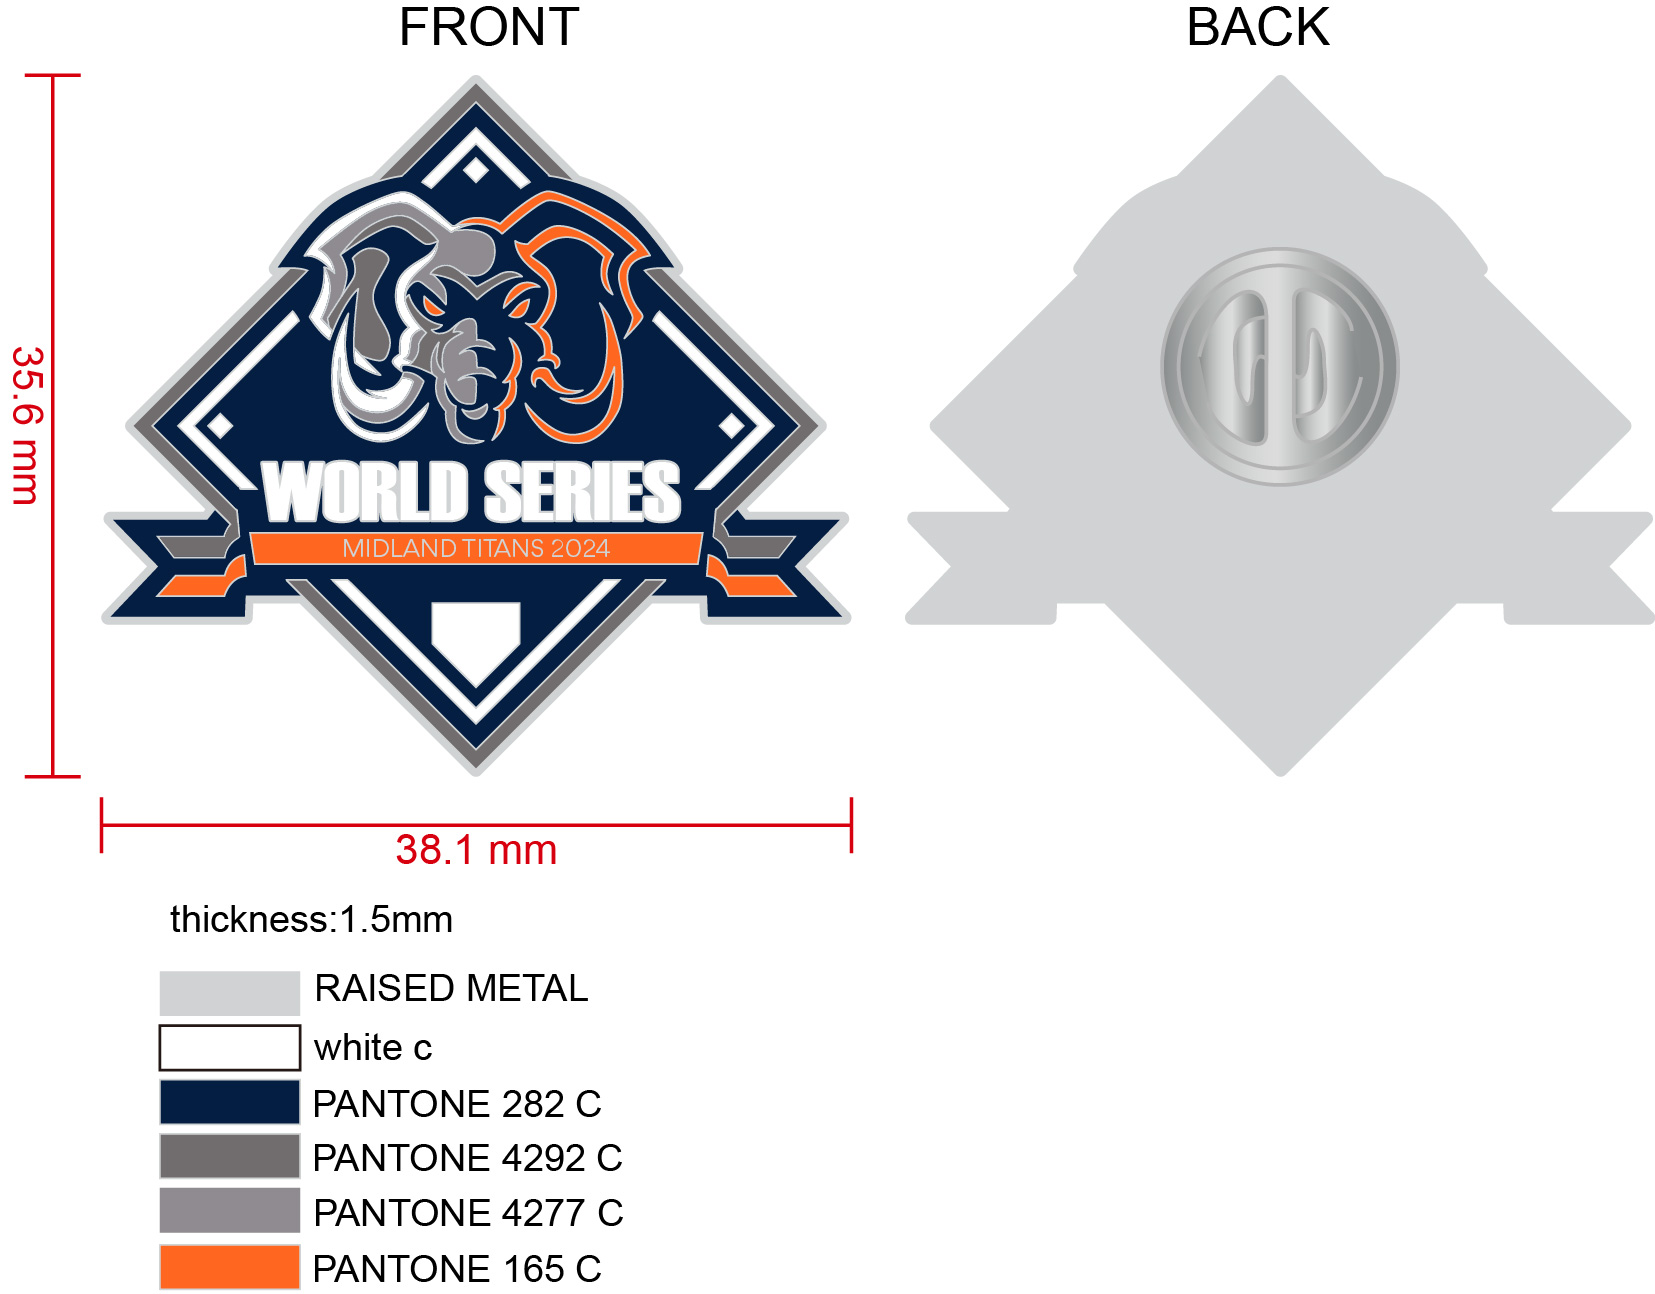
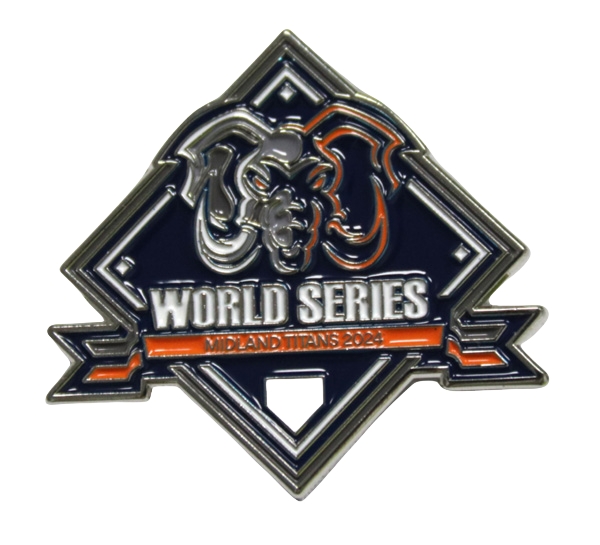
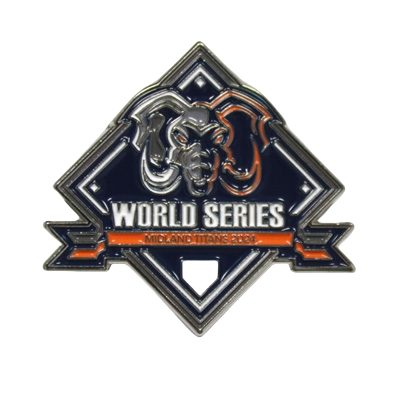
1. Soft Enamel Baseball Pin Design Phase
Concept Development
Brainstorm these key elements:
- Team branding – logos, mascots, or player numbers
- Baseball motifs – bats, balls, gloves, or diamonds
- Text elements – team names, years, or mottos
- Color scheme – match team colors or create contrast
Pro Design Tip:
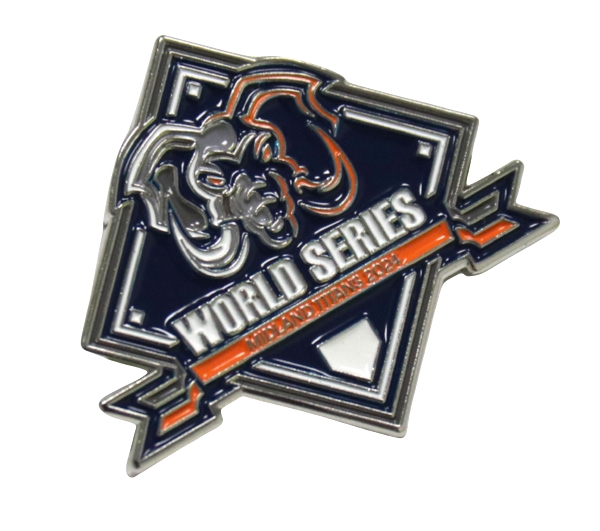
For soft enamel pins, incorporate raised metal borders between color sections to prevent bleeding during production.
Design Tools
- Professional: Adobe Illustrator (vector files preferred)
- Intermediate: CorelDRAW or Inkscape
- Beginner: Canva (for basic concepts)
2. Technical Specifications
Standard Baseball Pin Sizes
- Small: 0.75″ – 1″ (ideal for simple designs)
- Medium: 1.25″ – 1.5″ (most popular for team logos)
- Large: 2″ – 3″ (detailed artwork or text)
Recommended Production Details
- Base metal: Zinc alloy (most durable)
- Plating: Gold, silver, or antique finishes
- Enamel type: Soft enamel for textured look
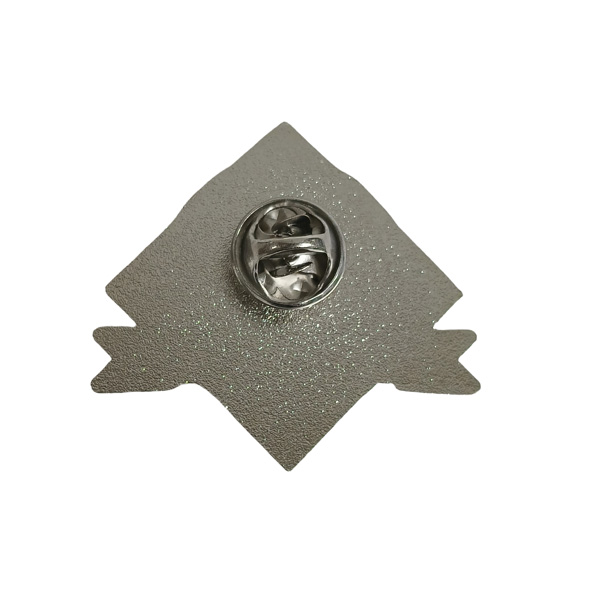
- Backing: Butterfly clutch or rubber backer
3. Production Process
- Artwork approval (2-3 business days)
- Mold creation (steel mold engraving)
- Metal stamping (shape formation)
- Color filling (hand-poured enamel)
- Polishing & plating
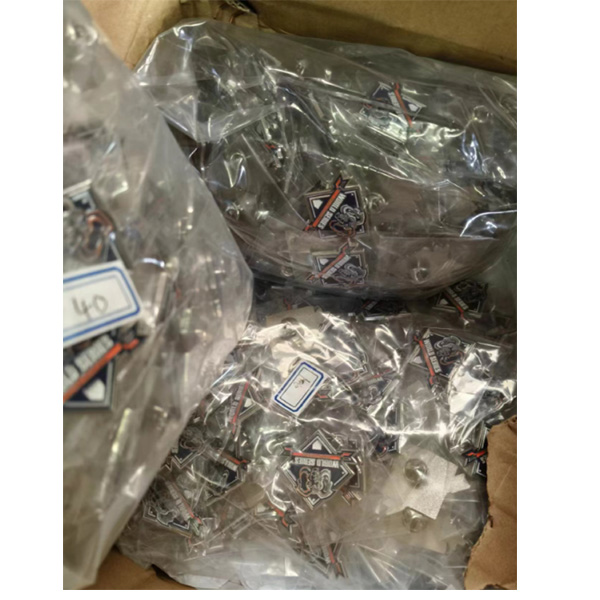
- Quality inspection
Timeline Note:
Standard production takes 10-12 business days. Rush services available for 5-7 day turnaround.