Challenge Coin Production Steps
We get a lot of questions about how we make custom challenge coins, so we decided to give you a behind the scenes look at our challenge coin production process. We’ll break down all the big steps in the coin manufacturing process, so you can see exactly how your challenge coins are made from start to finish. Green Tree Gifts delve into the challenge coin production steps to give you a comprehensive guide on making challenge coins. Start here and get a free quote!
We’ll be picking up the process right when our production team sets to work on a finished coin design. You can learn more about how to design a challenge coin in our challenge coin design. For now, let’s move on to the first step in coin production.
Step One: Making a Custom Coin Mold
The first thing we need to do is create a challenge coin mold, and the process of making a custom coin mold starts with a computer called a CAD.
Computer-Aided Design, is a computer program that uses the custom artwork of a coin to create a digital blueprint of the design that we can use for manufacturing. The CAD maps out the tolerances and dimensions of the coin, accounting for the materials we will use, and we upload all of this information into another computer called a CAM (Computer-Aided Manufacturing) software.
In the coin production process, milling involves using a cutting tool to progressively remove material from the surface of a steel block, cutting the inverse of a coin design into the metal.
This is how we make custom coin molds. One mold is cut for the front of the coins, and one is cut for the back of the coins. Once the CNC is finished cutting the steel coin molds, we test them by striking soft pieces of metal and examining the impressions they make. If we see any imperfections in the design, we can make adjustments to the molds before moving forward.
Once we’re satisfied with the molds, we temper them in a hot oven. This hardens the steel, making it tougher and better able to stand up to the immense force of die striking brass coins. Once the molds are red hot, we take them out of the oven and douse them in cool oil. It takes anywhere from 500 to 1,000 tons of force to stamp a design into brass, and heat-treating the coin molds beforehand ensures that they are up for the task.
Step Two: Die Striking Challenge Coins
Coin molds are sometimes called dies, which is where the term die striking comes from. Die striking involves using the freshly made coin molds to stamp artwork into brass. It sounds pretty straight forward, but depending on the type of coins being made, die striking can look a little different.
Round coins, for example, are usually made from coin blanks. As it sounds, coin blanks are just featureless round medallions that have been removed from a strip of brass. Once we fit the coin molds to a coin press, we place the coin blanks between the molds and use the coin press to stamp the molds against the blank coins.
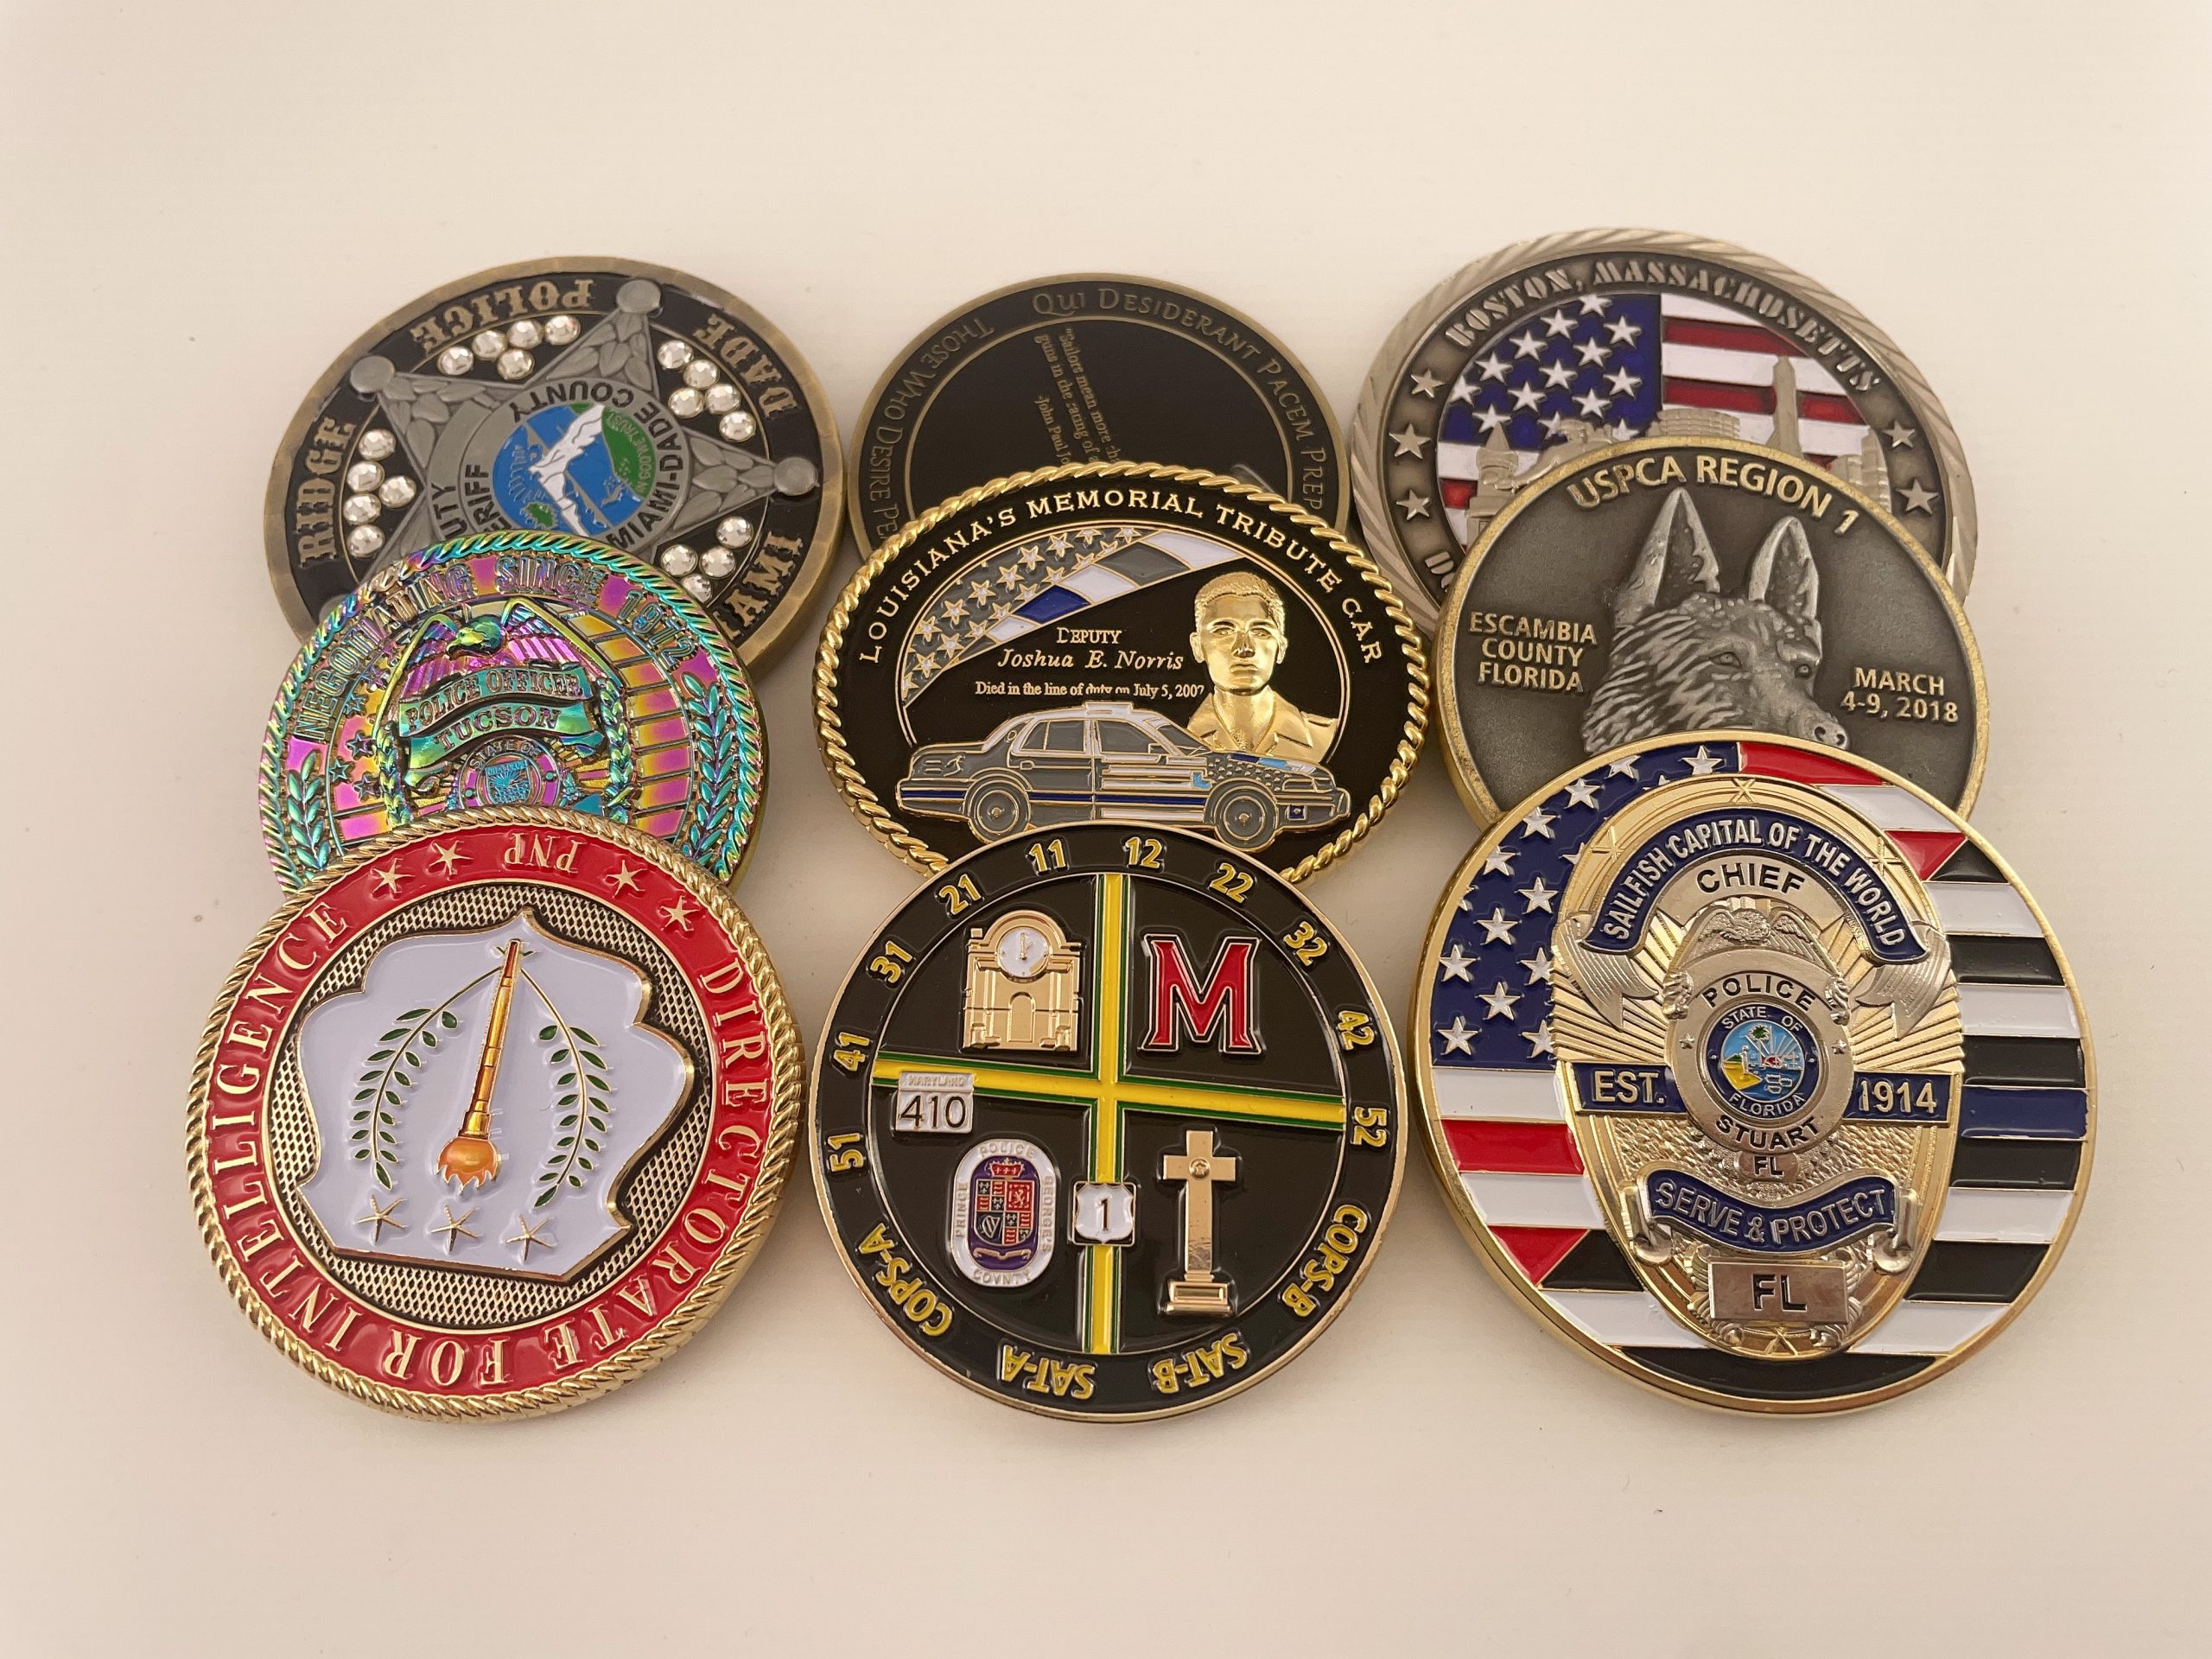
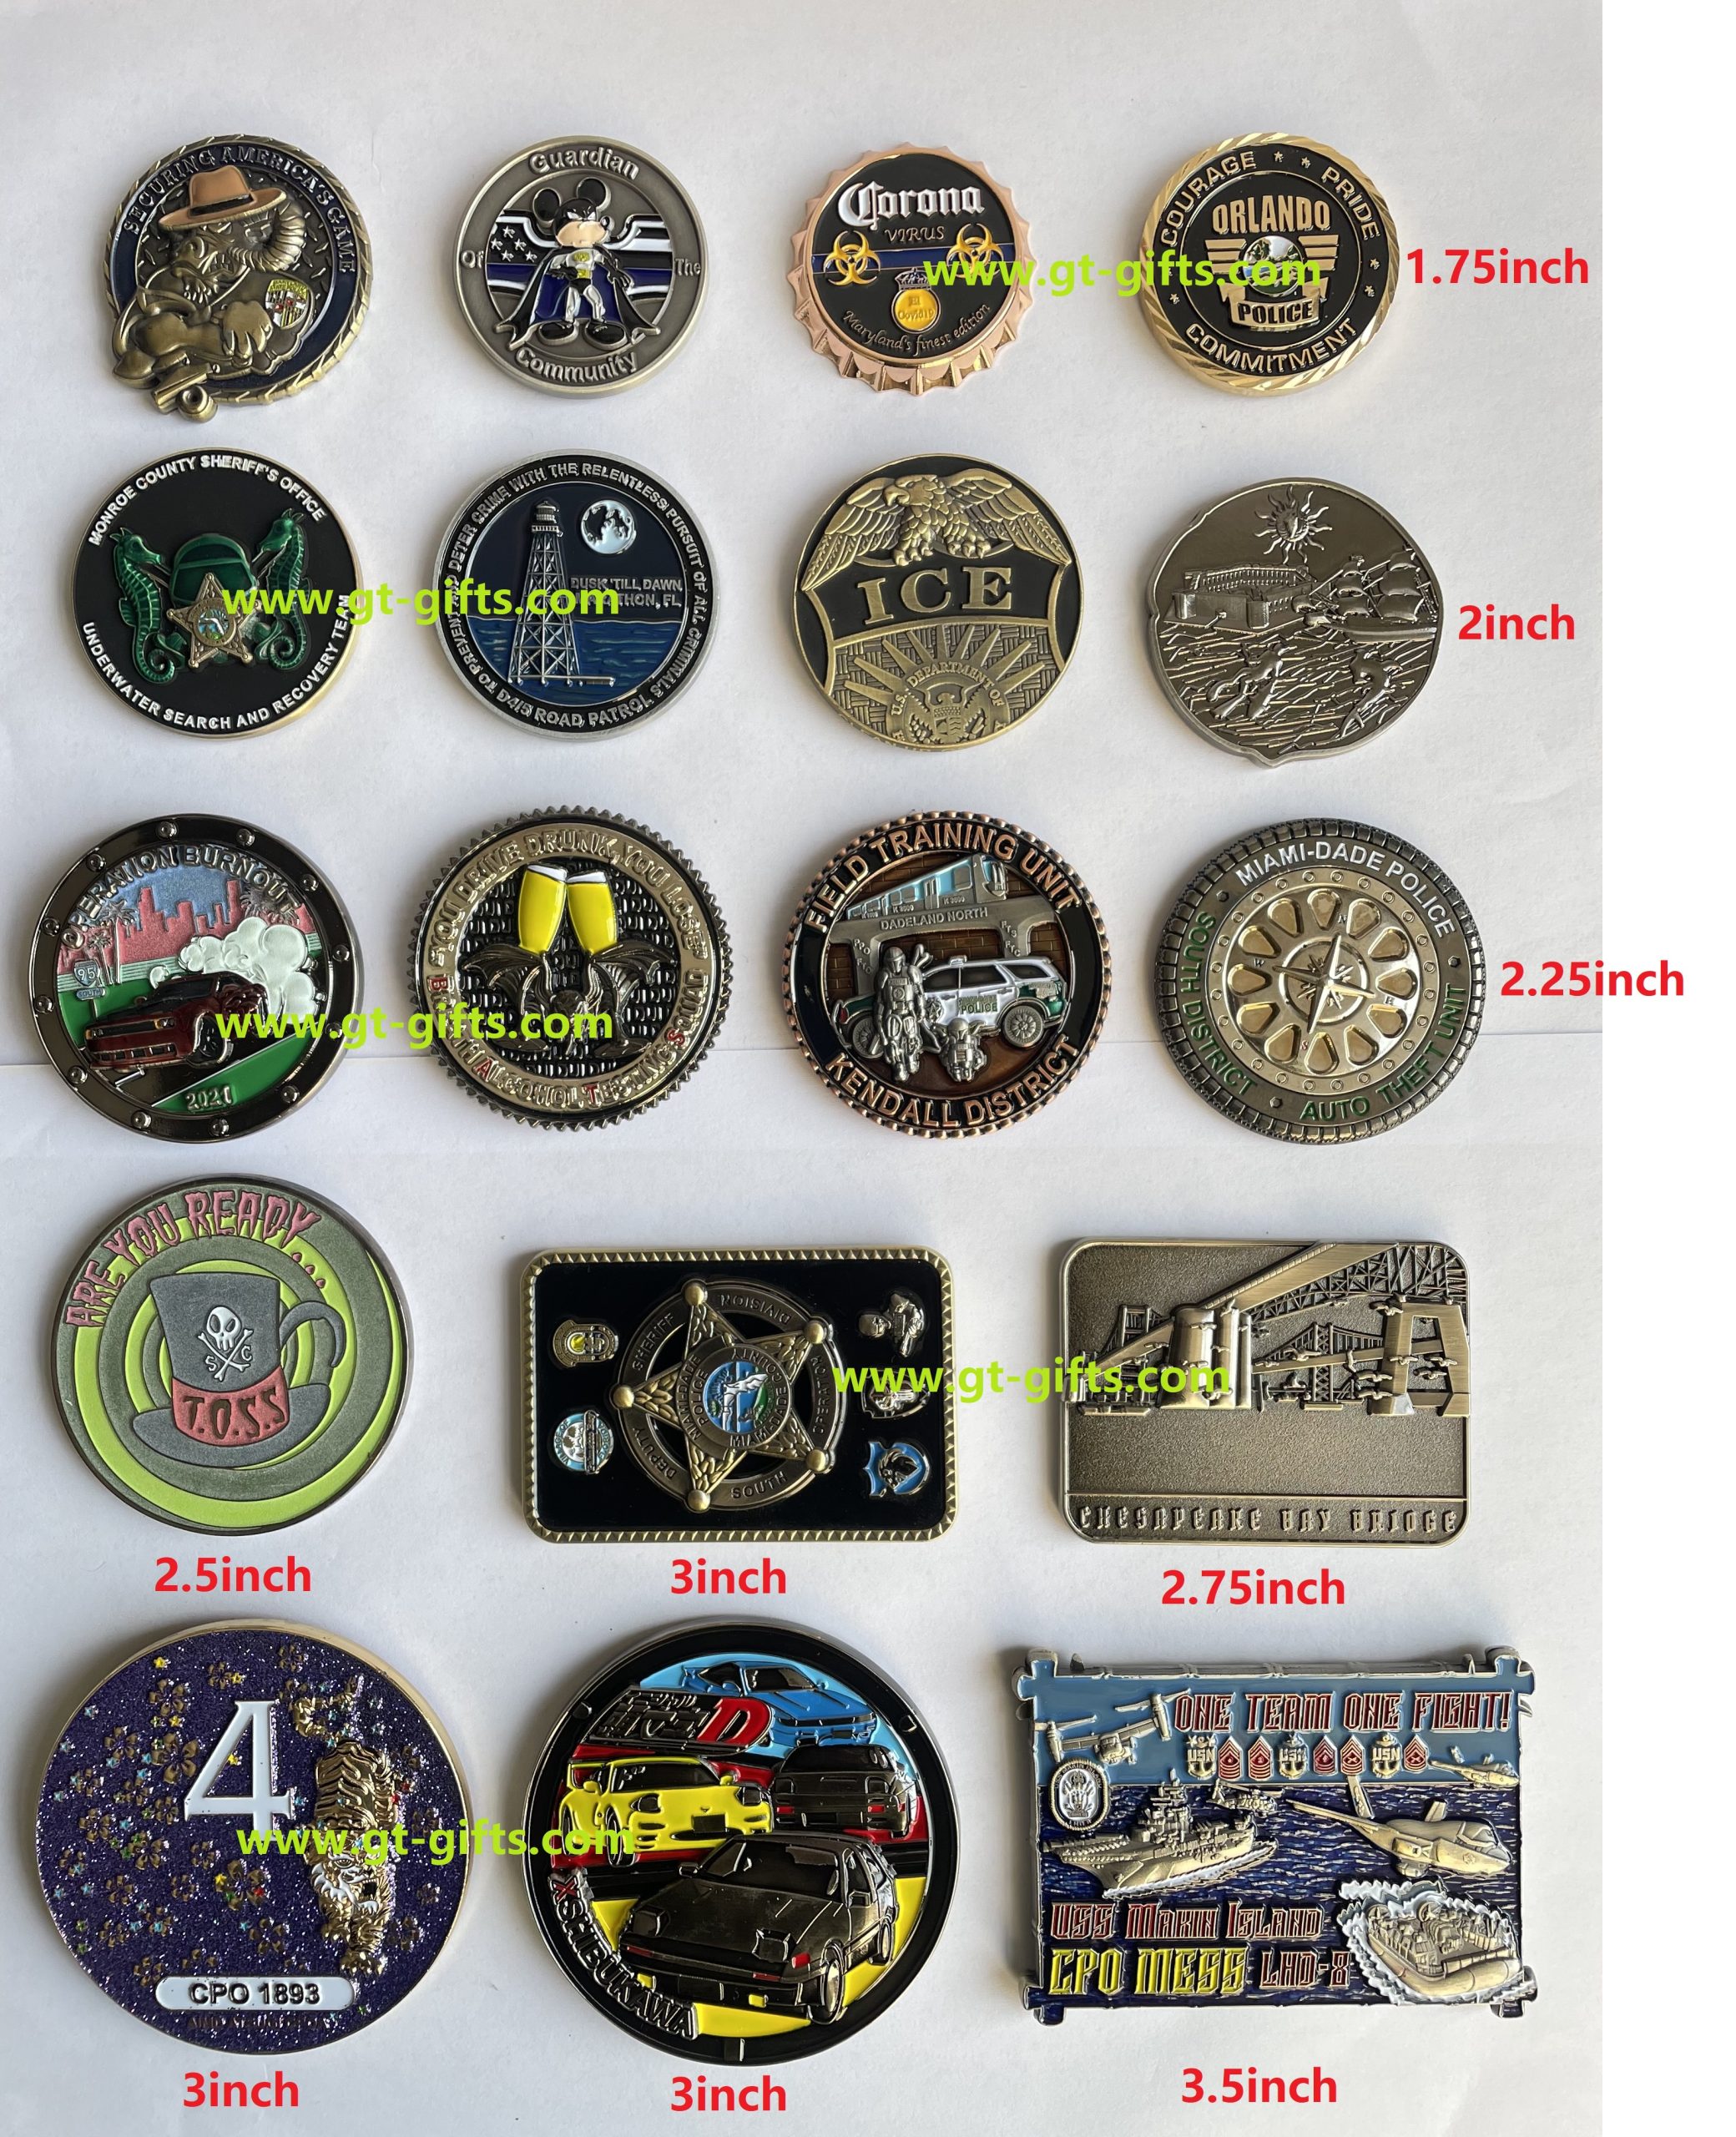
We create coin blanks by feeding strips of brass or steel through a coin press fitted with a round cutting tool. When the coin press comes down, the round coin blanks are cut free and collected for die striking later on. Finished Most challenge coins are 1.5” to 2” in size on average. But we usually make 2, 2.25, 2.5, 3, 3.5, 4, 4.5 inches; the thickness is usually 5mm-10mm
Since the coins are custom shaped, we need a custom shaped cutter to remove them from the brass strip. We create a cutter through a Wire EDM process. It’s used on everything from circular coins to the most complex shapes you can think of.
Just like the coin molds, the cutting molds need to be trimmed and heat-treated before use. When it’s ready, we load the cutting mold into a special coin press, and when this press comes down on the brass strips of metal, the coins are cut free with the impressions of the artwork already in place.
Step Three: Cutting the Edge the Coins
No matter how the die striking process looks, stamping and cutting metal creates sharp ridges and spurs across the entire surface of the coins. Handling them without gloves at this point can be a little dicey, so we need to deburr them before moving on.
However, depending on the edge you choose for your design, there may be an extra step between die striking and deburring. This is because some edges are hand-cut.
We do this by loading the coins into a rotary table and cutting the intricate pattern along the edge of the coins by hand as the table spins. The coins are finished individually, and once they’re all finished, we put them all through the deburring process.
Deburring is done in a few different ways. Sometimes, coins are tumbled in dry media, and other times, they’re put into a machine with water, soap, and porous stone that will rub against the coins as the machine spins.
We also deburr coins by hand. We line them up on a wooden block and hold the block against a spinning wheel to smooth the surface of the coins. No matter which deburring method our production team chooses, the end result at this point is a set of coins that have a smooth, polished texture.
Step Four: Custom Plating and Colorfilling
Depending on the type of challenge coin, these last elements of challenge coin minting can happen in a different order. Soft enamel coins go through the custom metal plating process first and then go through colorfilling. Hard enamel coins go through colorfilling first and then go through metal plating.
Challenge coins often feature vibrant colors to enhance their visual appeal. The use of soft enamel or hard enamel adds depth and texture to the design:
Soft Enamel: Offers a raised and recessed design where the colored areas are filled with enamel. It’s often a more affordable option.Hard Enamel: Offers a smooth, polished surface and a high-quality finish. The enamel is level with the metal, giving the coin a premium look.Freshly deburred coins are collected and hung from copper wire. This plays a big part in the metal plating, or electroplating, process. Electroplating is mostly a chemical process. We take the coins hung from the copper wire and dip them into troughs full of water.
They’re first dipped into clean water and then into different chemical solutions to clean the surface of all of the coins. This ensures that the coins receive an even layer of metal plating. The actual metal plating process happens when we soak the coins in a solution containing the precious metal chosen to cover the design.
We usually plate coins in gold, silver, or copper, but we also make black nickel coins and rainbow metal coins. No matter the case, an electrical current is run through the solution containing the coins and the precious metal. The coins, grounded by the copper wire, attract the precious metal to form a thin, permanent layer of custom metal plating.
After the coins are removed and dried, they go to the colorfilling room. Colorfilling is usually done by hand, but we also have machines that automate the entire process.
Members of our production team use special syringes full of soft enamel paint to fill in the recessed areas of the design. Once all of the colors have been added, we put all of the coins into an oven to let the enamel cure.
Step Five: Quality Control
At this point, the coins are almost finished. Depending on the design, the last step in production is laser engraving. We use laser engraving to include small details that are not possible to create using the die striking method.
We can laser engrave different names onto the surface of a coin or along the true edge of a coin. We also use laser engraving to include sequential numbering on a series of coins. It all depends on what the design calls for.
If it’s needed, the last part of the challenge coin production process is quality control and packaging
Your Next Step
Partner with a certified custom police patches factory that prioritizes quality, speed, and affordability. Visit www.gt-gifts.com to request a free quote or design consultation. From small agencies to global distributors, we’re here to elevate your uniform branding!